Are you ready to streamline your business processes with seamless QuickBooks and Salesforce integration?
This step-by-step guide will help you install QB Sync Made Easy in your Salesforce organization and get started with syncing data between Salesforce and QuickBooks Online.
Before You Begin
Ensure that:
You have Salesforce Administrator access.
You are installing the package in Salesforce edition.
Installation link for QB Sync Made Easy from App Exchange.
Step 1: Log in to Salesforce
- Log in to your Salesforce organization using your administrator credentials.
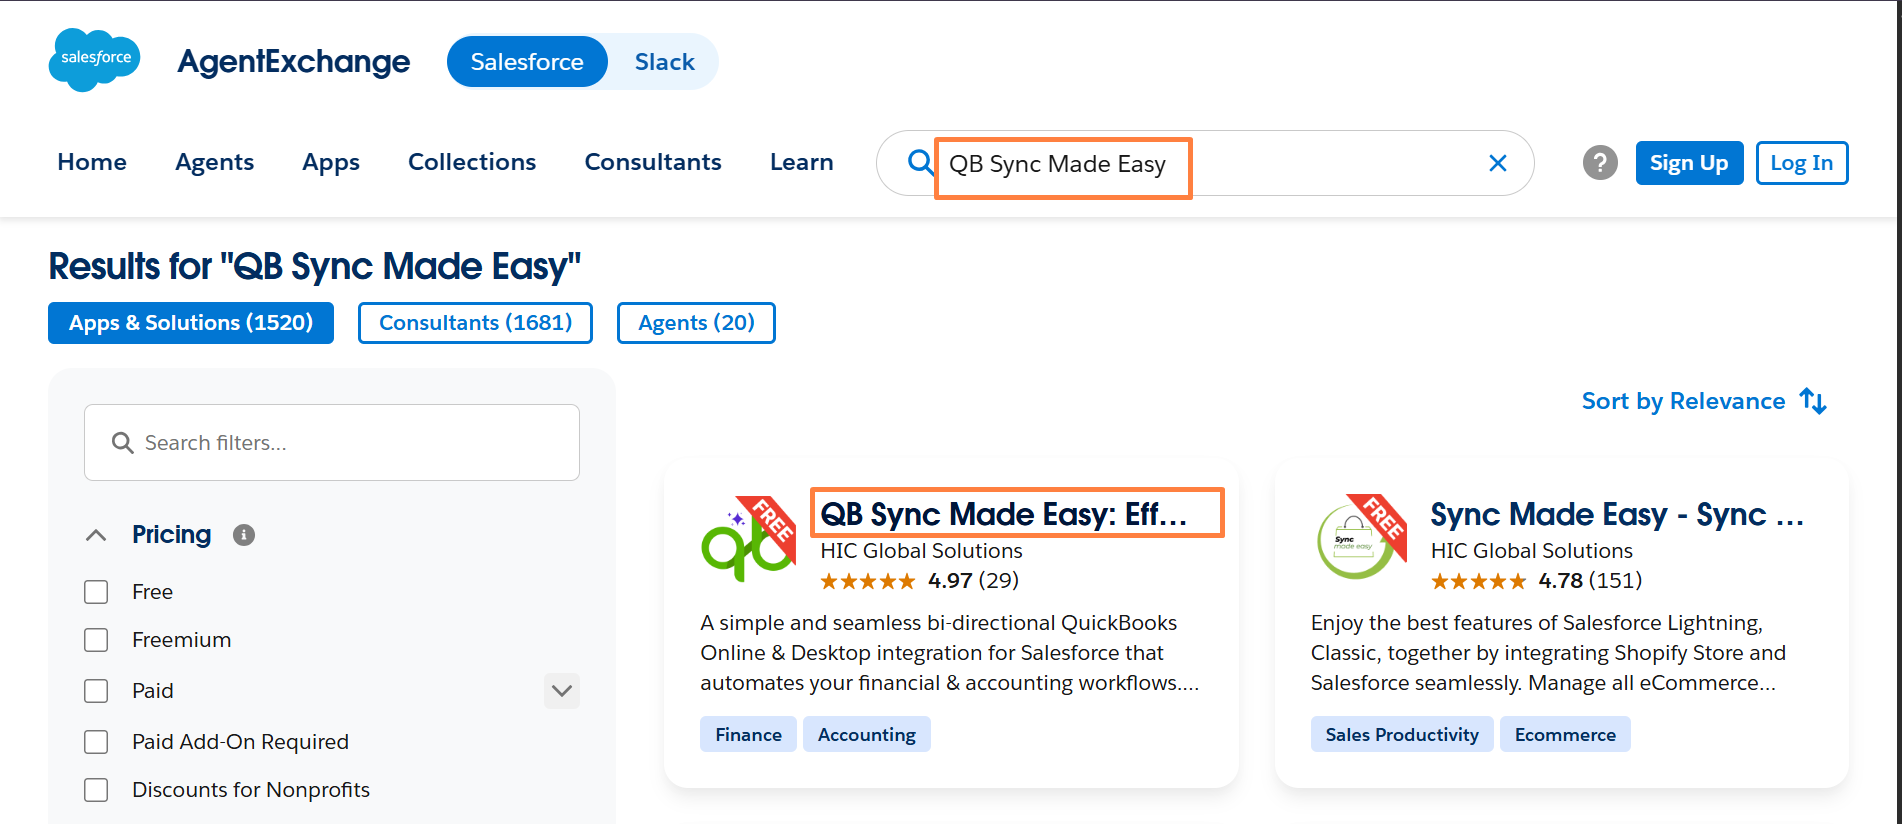
Step 2: Go to App Exchange and search QB Sync Made Easy app.
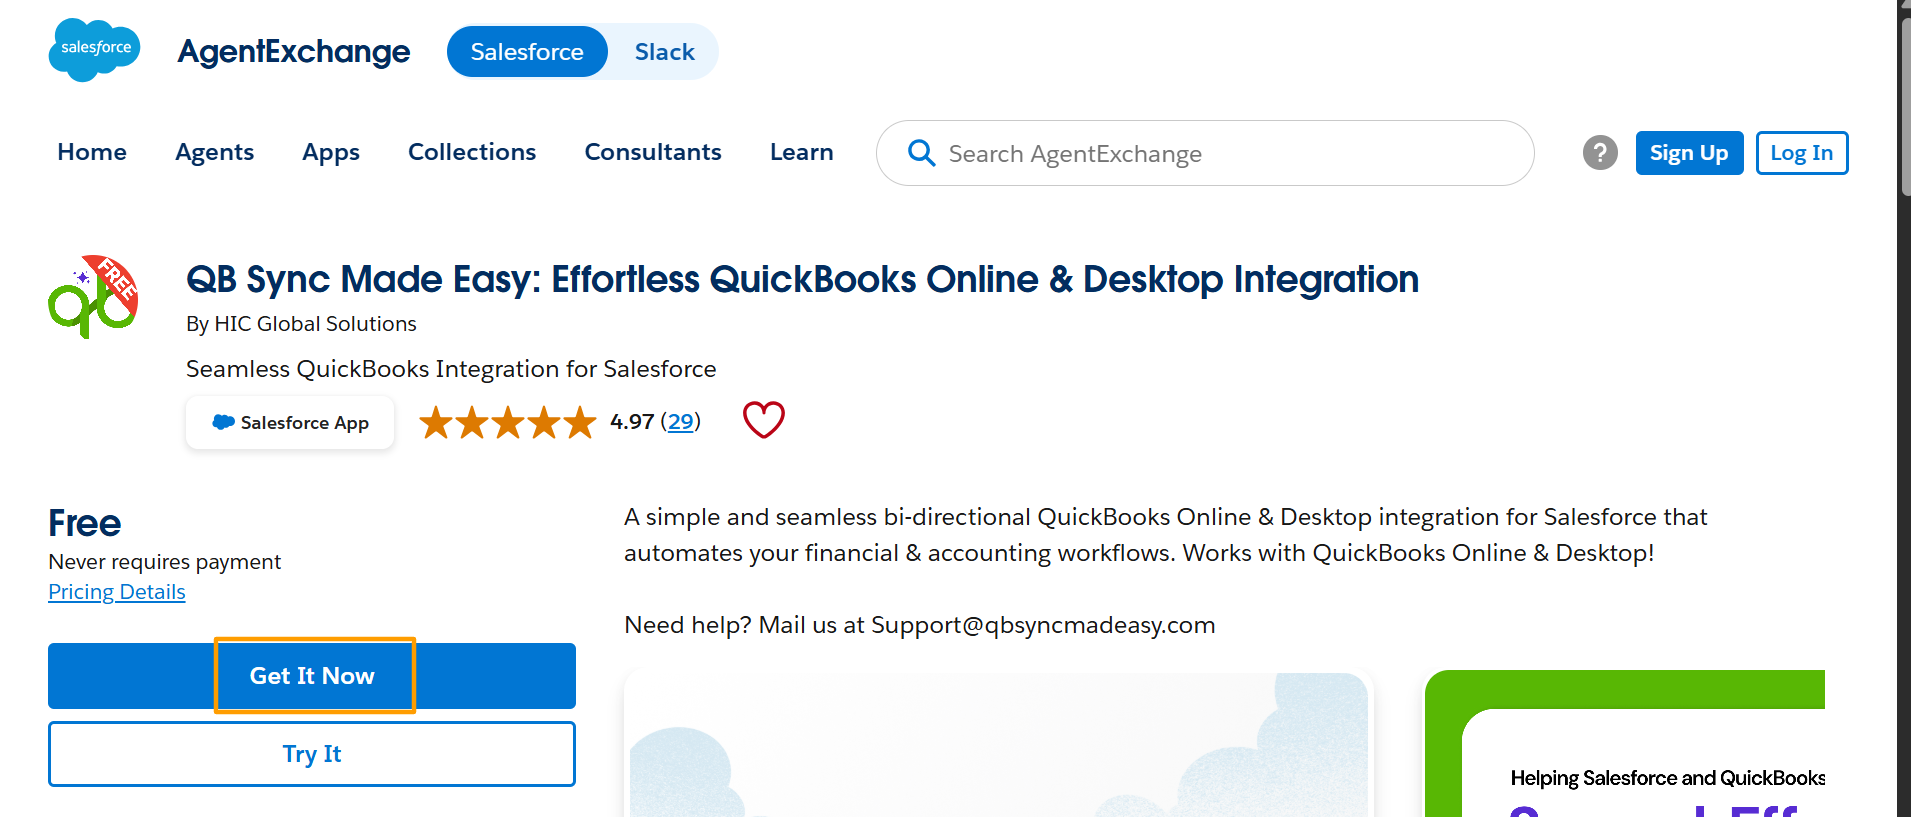
Step 3: Click on QB Sync Made Easy App and "Get It Now"
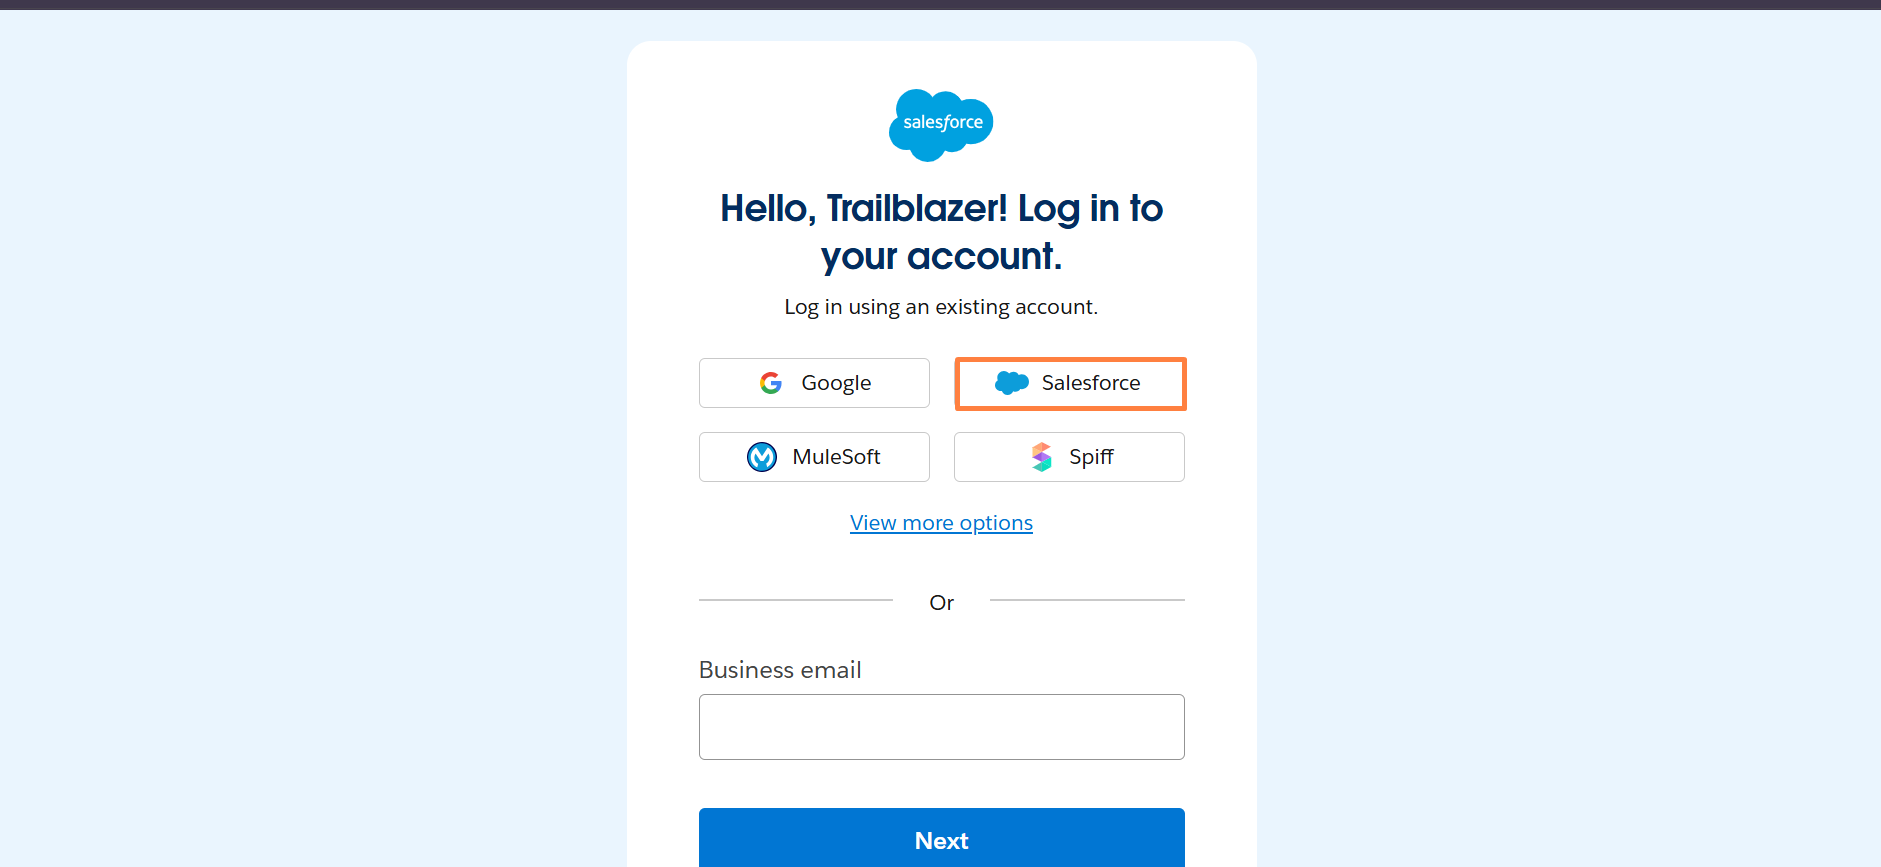
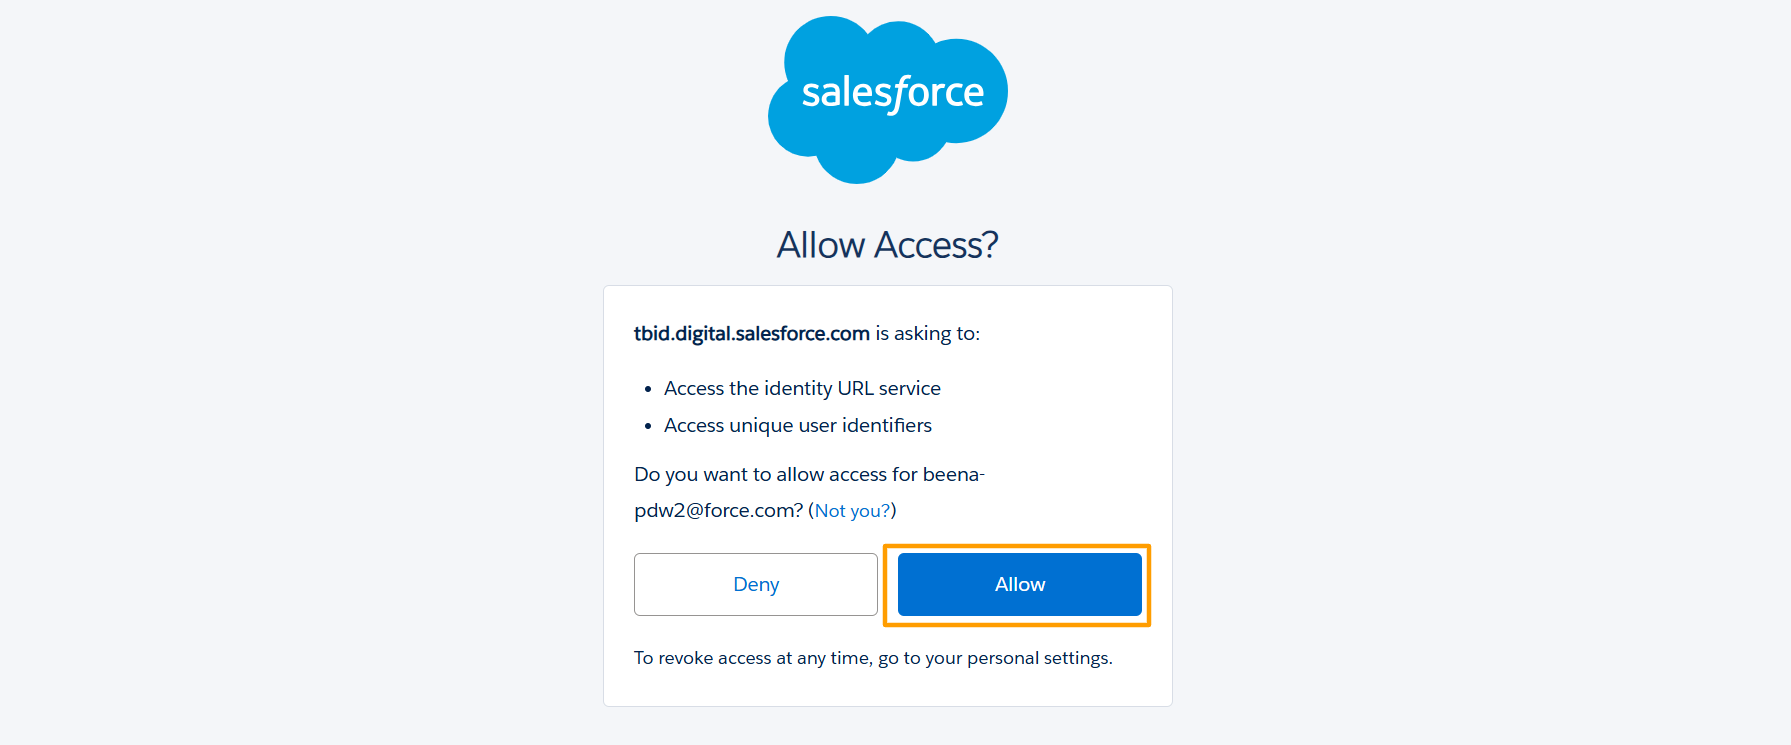
Step 4: Login with credential and Allow Access
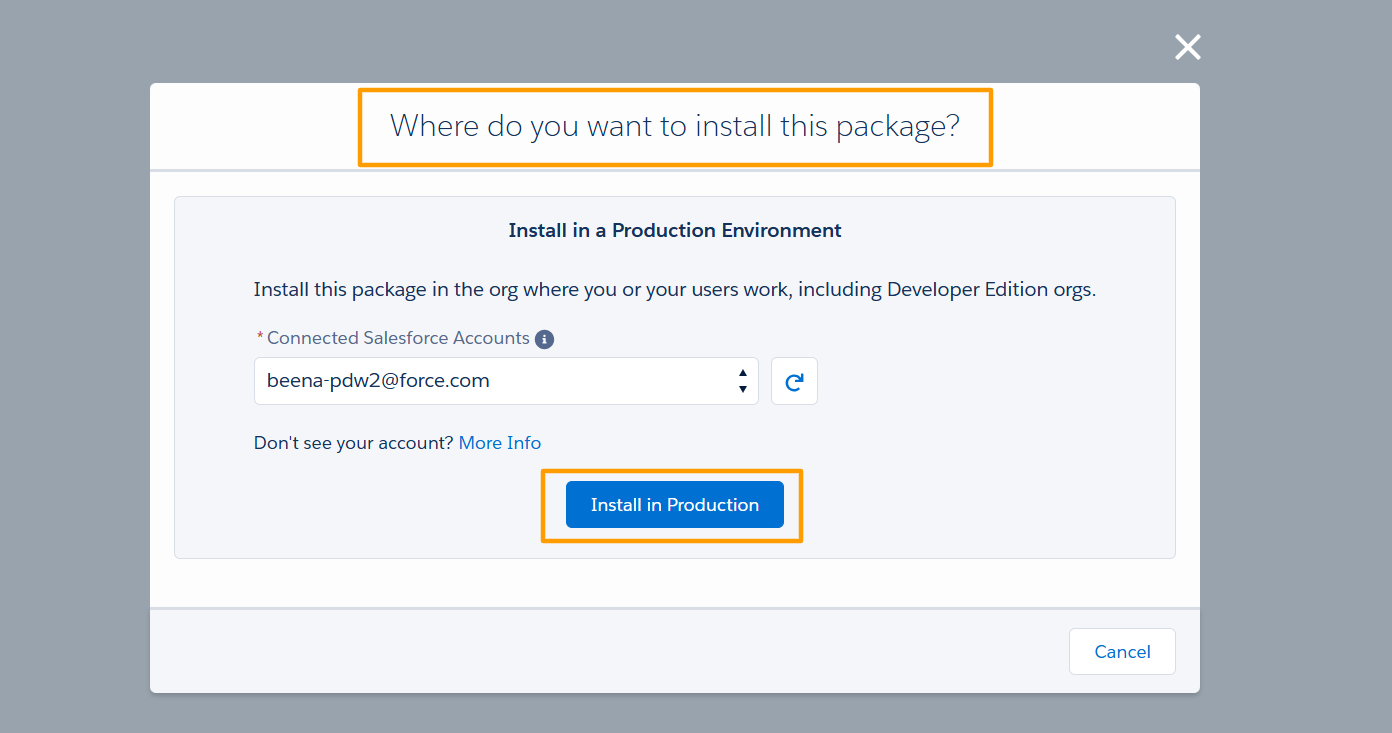
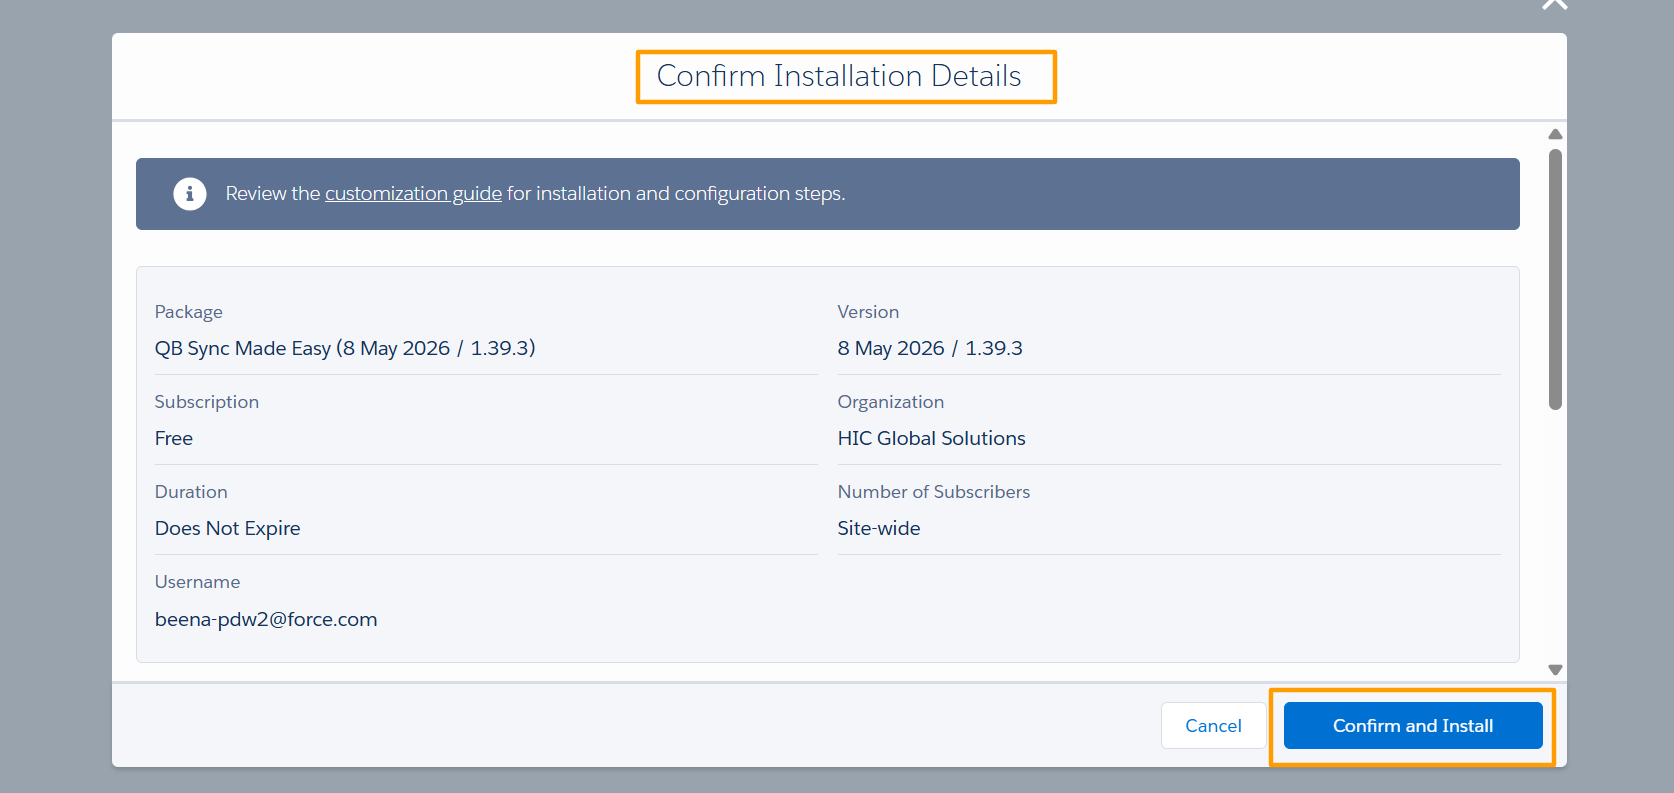
Step 5: Confirm Installation with correct credential.

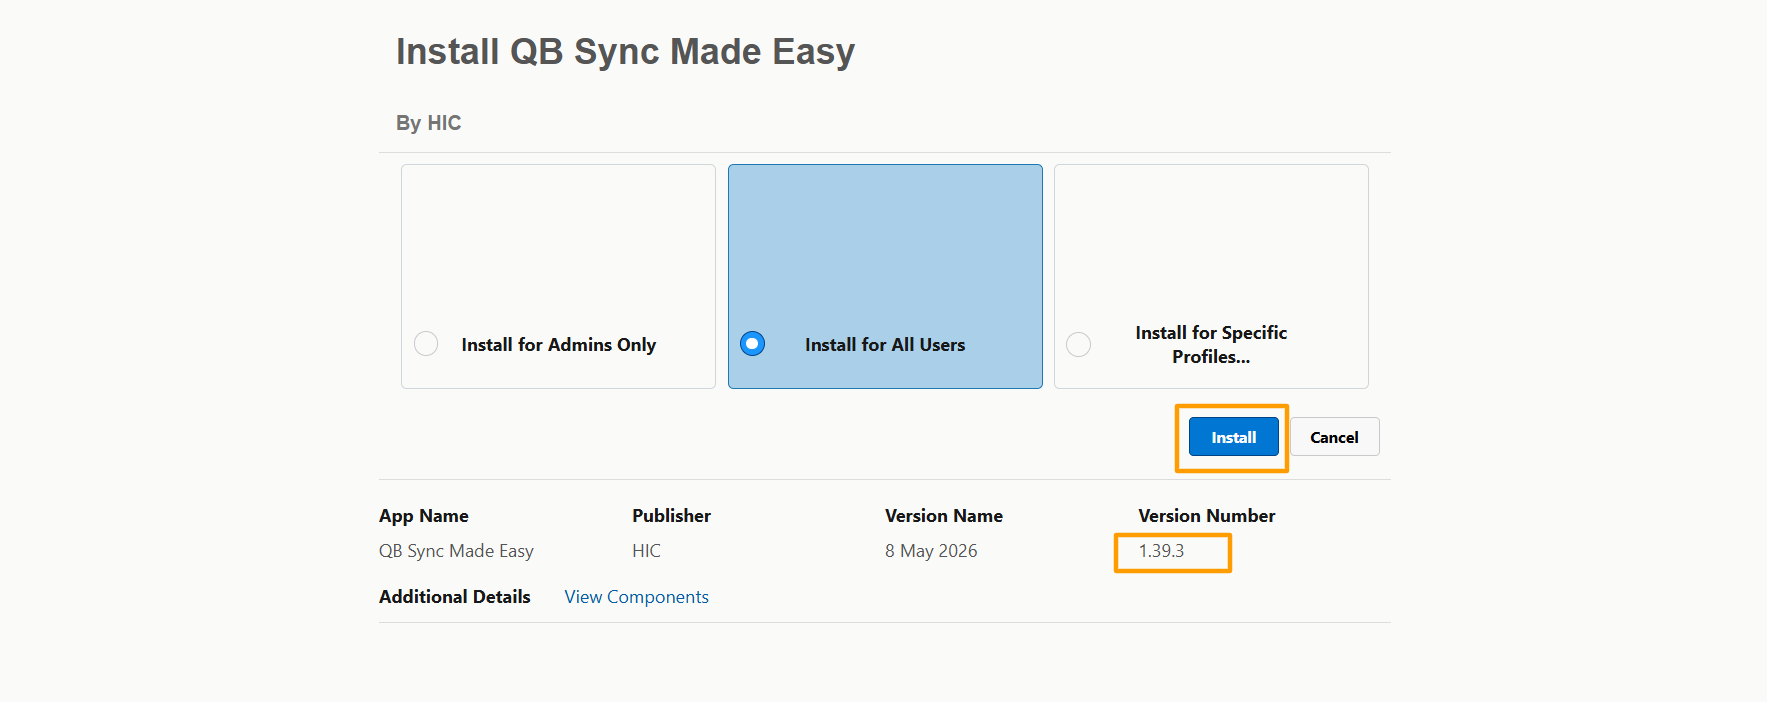
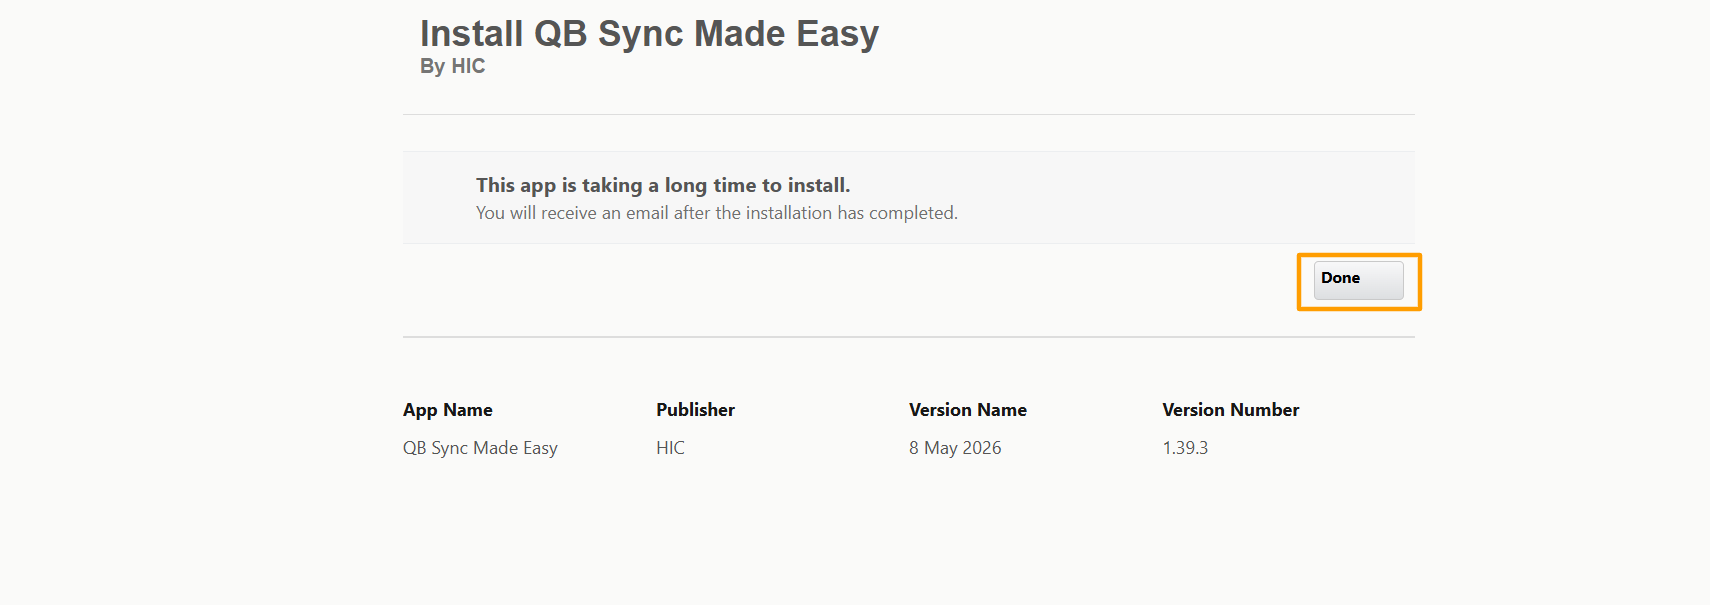
Step 6: Click on Install Button after installed Click on Done Button.
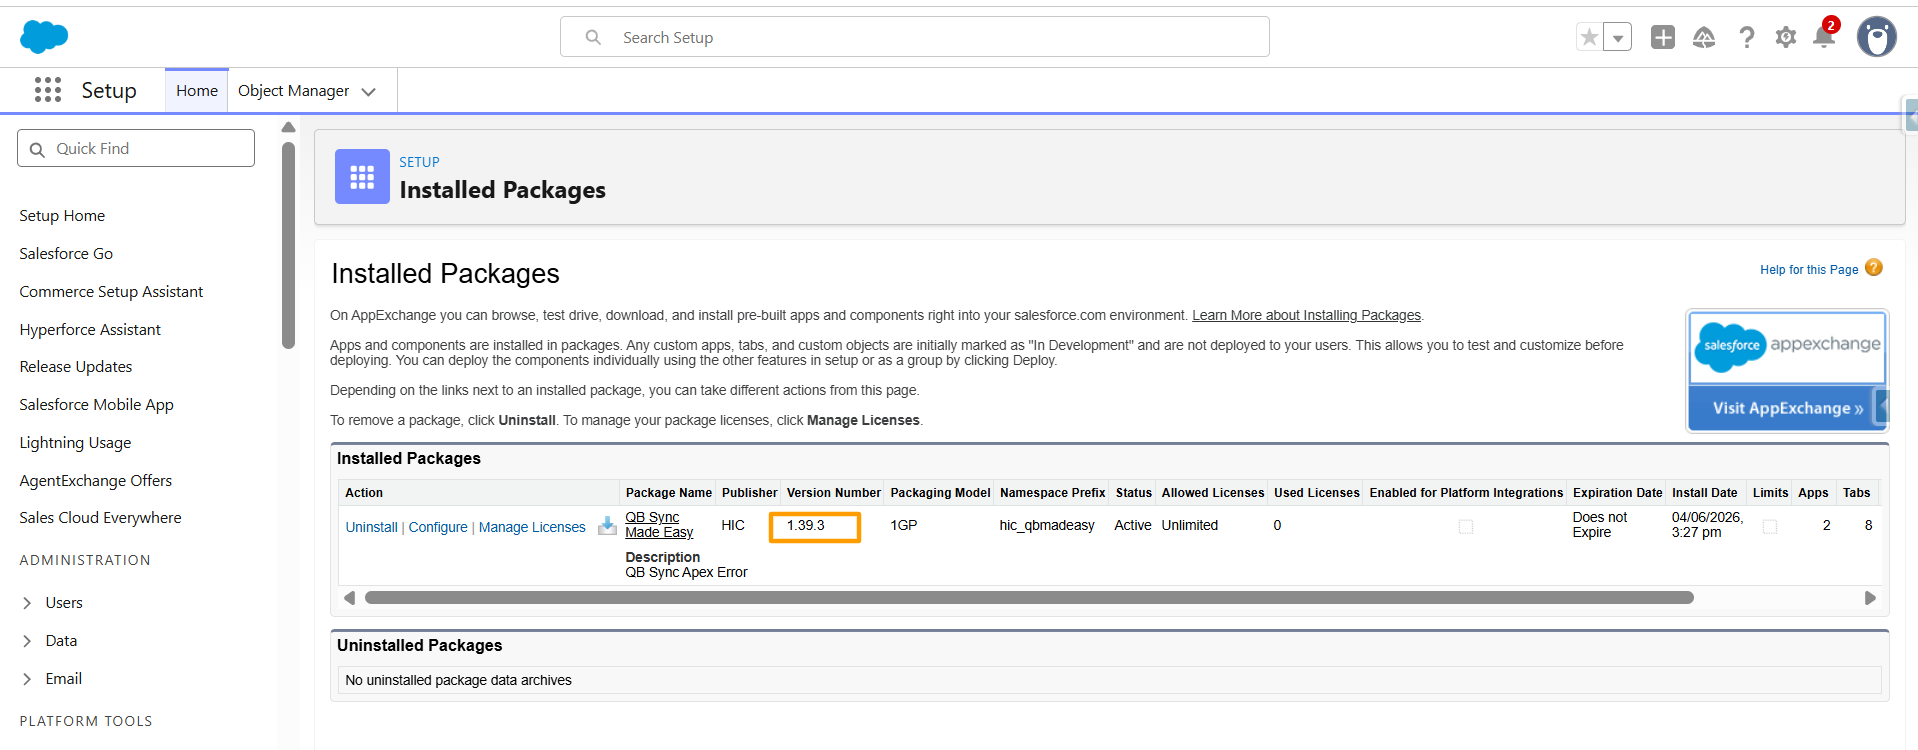
Step 7: Check QB Sync Made Easy package in Your Org.
Now the QB Sync Made Easy app has been installed for all users.
You can now proceed with:
- Connecting your QuickBooks Online company
- Configuring object and field mappings
- Setting up data synchronization between Salesforce and QuickBooks
Was this article helpful?
That’s Great!
Thank you for your feedback
Sorry! We couldn't be helpful
Thank you for your feedback
Feedback sent
We appreciate your effort and will try to fix the article