How to Connect and Configure Quickbook Companies With Salesforce using QB Sync Made Easy?

After you have successfully installed the QB Sync Made Easy app in your org, it is time to connect and configure the same with Salesforce to get started with instant data sync.

Here is the step-by-step guide on how to connect and configure QB Sync Made Easy. 

Step 1: Connecting Quickbooks Companies with Salesforce

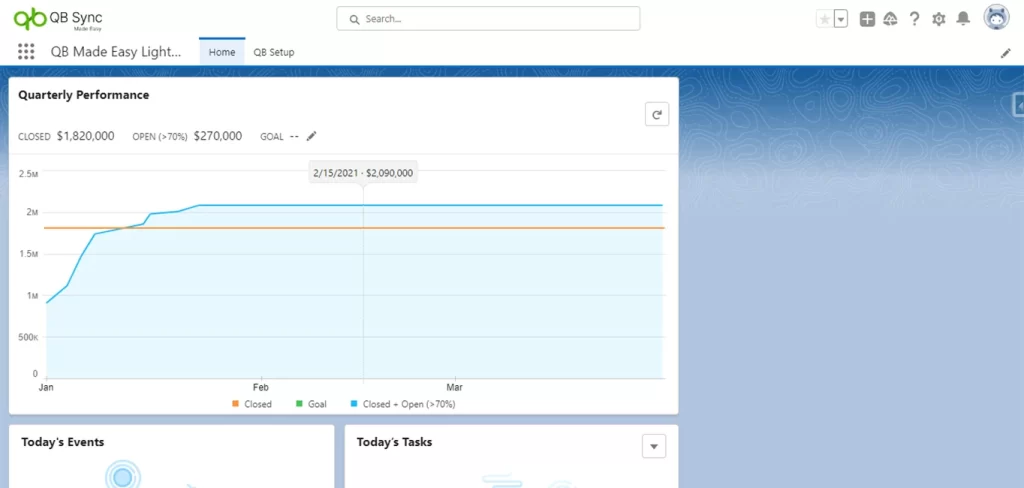
After installation and setting permission, you will see the homepage of the app.

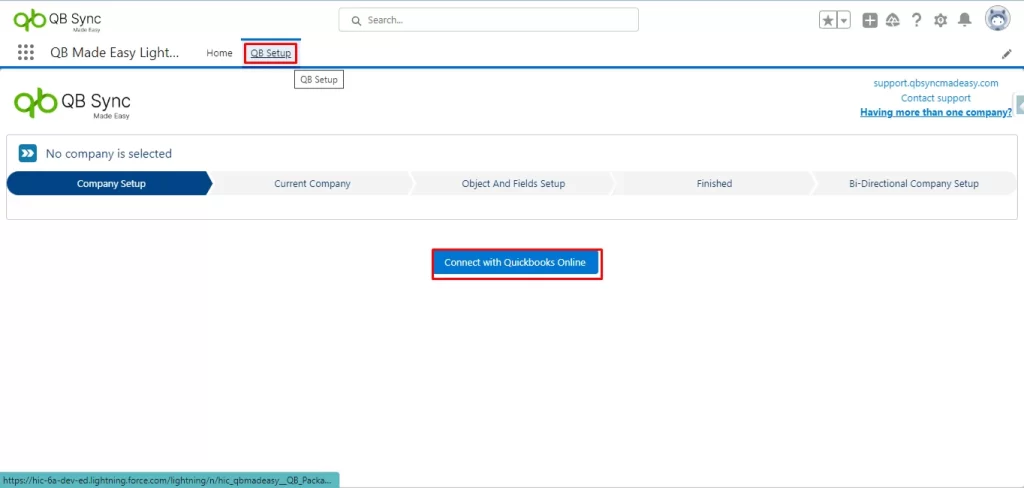
By clicking on the setup, a window will appear like the image below. 

Now click on Connect with QuickBooks Online to link QuickBooks companies to Salesforce. 

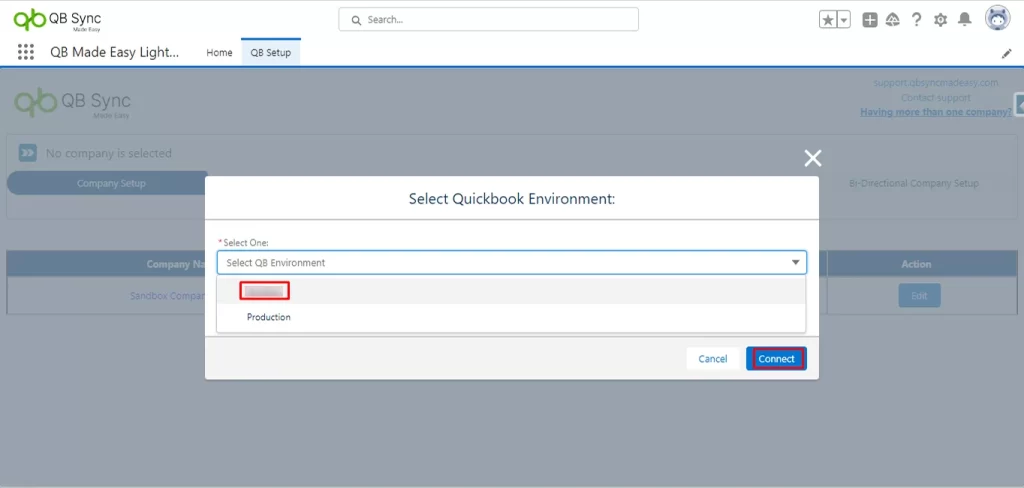
A window will appear after you’ve clicked on Connect with QuickBooks online. 

Click the connect button after selecting the Sandbox or Production QuickBooks Environment. Here we’re selecting Sandbox.

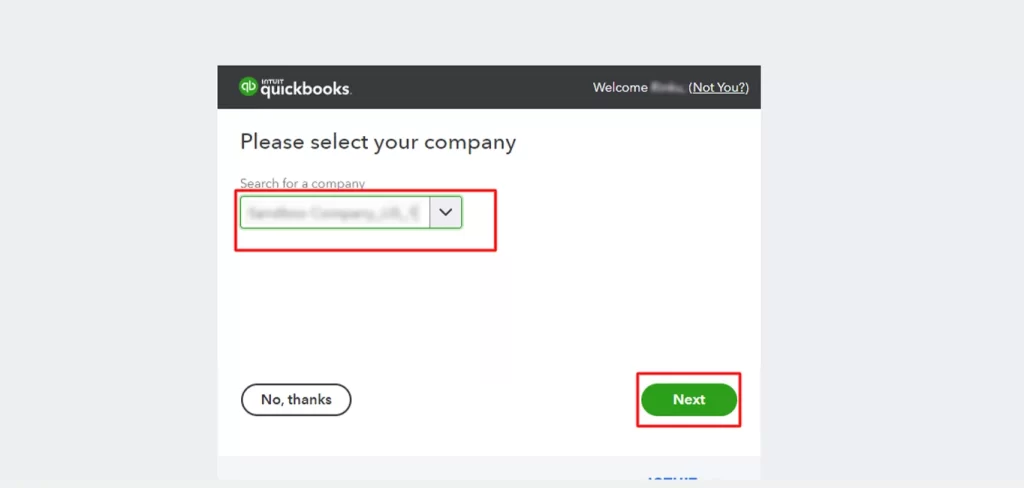
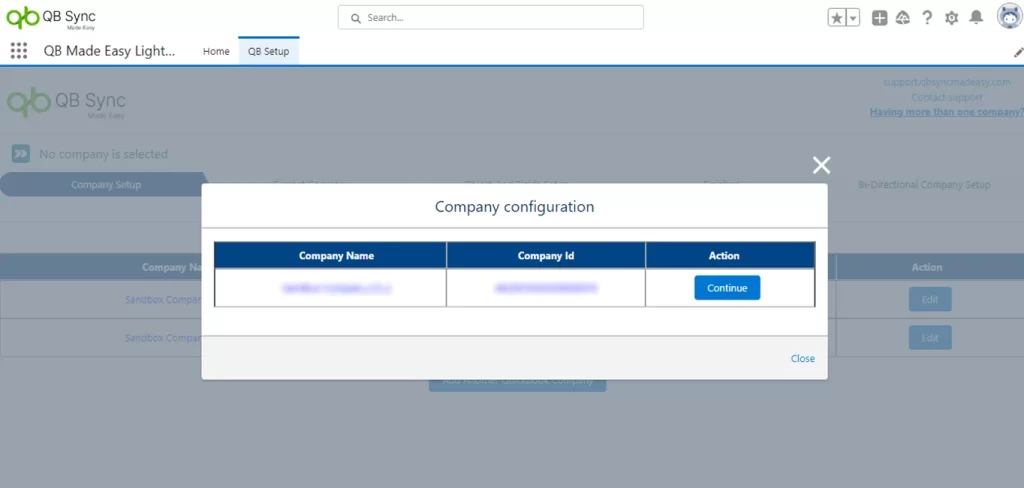
After clicking on connect, select the company and click on the next tab.

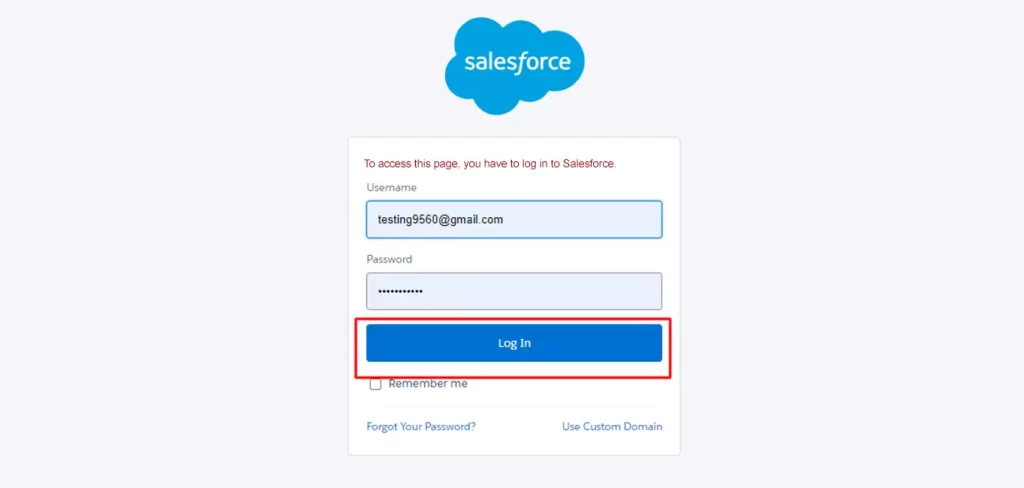
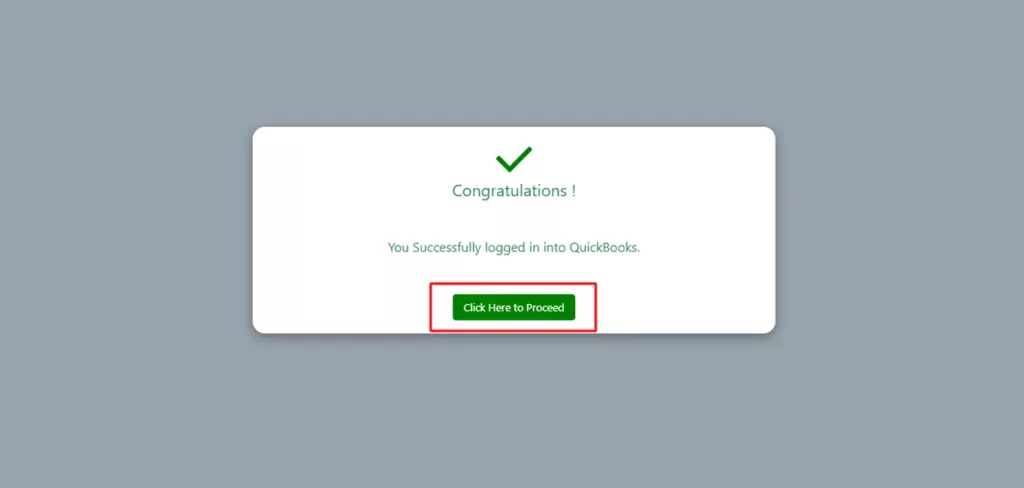
You must now log into the Salesforce account you wish to link. After logging in, you will see a message showing that the company has connected successfully. After that, you click the “Click here to proceed” button.

Step 2: Quickbooks Company Configuration

Congratulations! Your Salesforce and QuickBooks Company are now linked. 

Now it’s time to configure. 

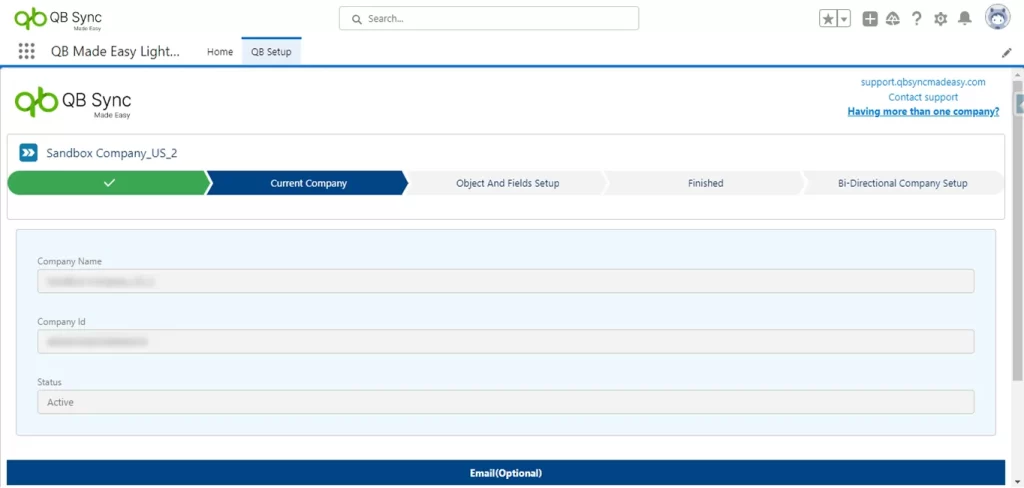
After you click “click to proceed”, the window shown below will appear; click on “configure”

When you select Configure, a window with information about your company will appear. You may enter your email address in this field to be notified when the Historic sync is finished.

Step 3:Configure Mapping For Salesforce to QuickBooks & QuickBooks to Salesforce

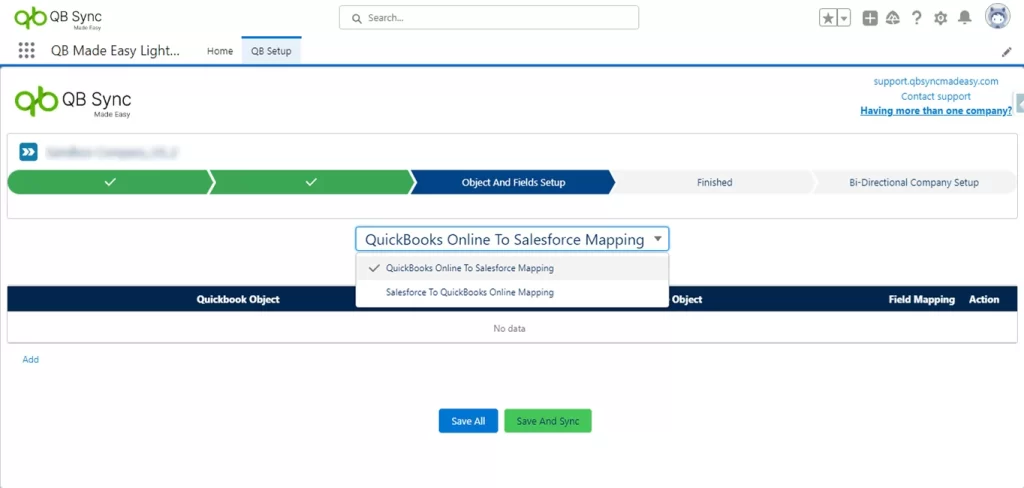
Now here you can see the mapping page where you can map QuickBooks to Salesforce and Salesforce to QuickBooks Sync. 

Now select QuickBooks online to Salesforce mapping. 

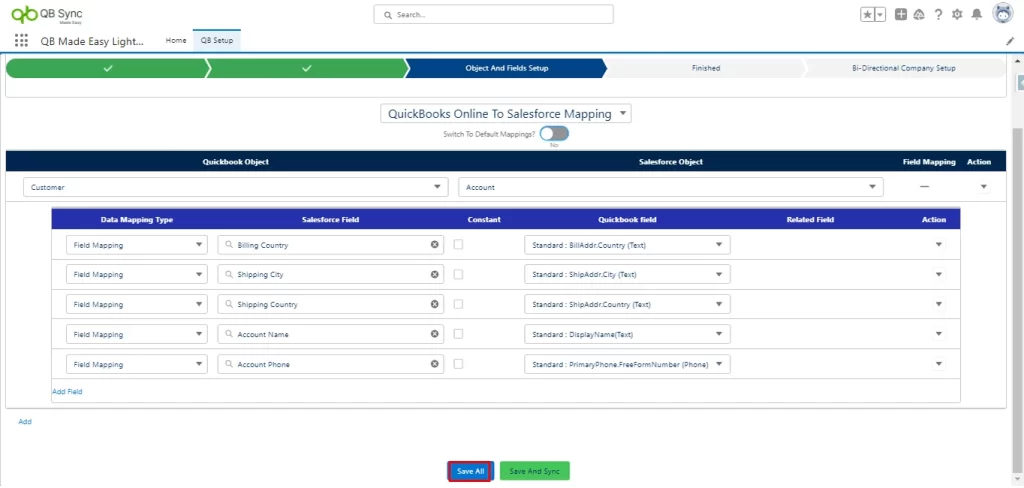
Select the objects that you want to sync with the selected fields in the QuickBooks to Salesforce sync.

Additionally, you can select a default mapping for Salesforce’s Account, Product, and Opportunities for Customers, Items, and Estimates, respectively.

If you only want to save the mapping after adding it, click Save All. If you also want to start the sync process, click Save and Sync.

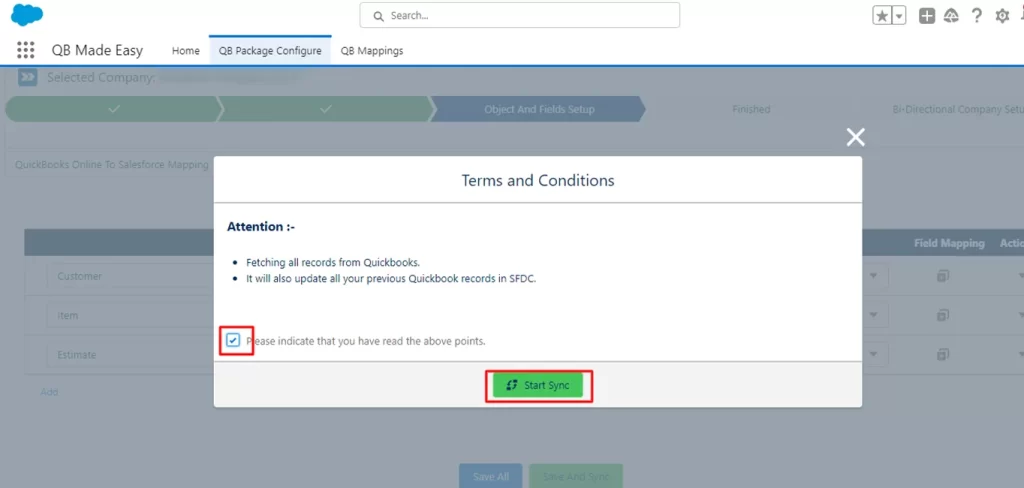
Once you’ve clicked on save, and sync a Modal will pop up, tick on the checkbox and click on Start sync. 

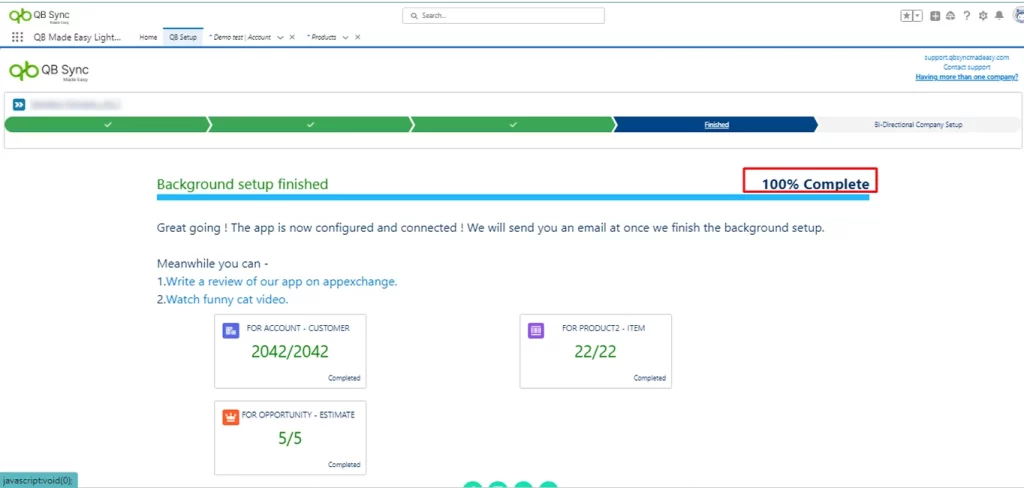
Now you can see the status of your syncing process. 

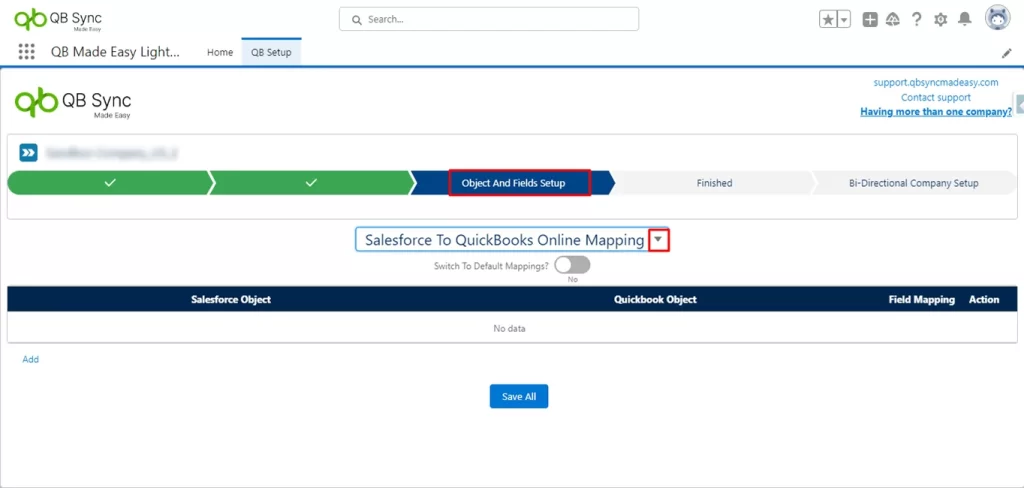
In the same way, you can save mapping for Salesforce to QuickBooks, you need to go to the object and field setup page and do the mapping the same as above. 

Hope this guide helps you to connect and configure QuickBooks companies seamlessly with Salesforce.

Couldn't find what you were looking for? Click here to talk to our experts!